概要
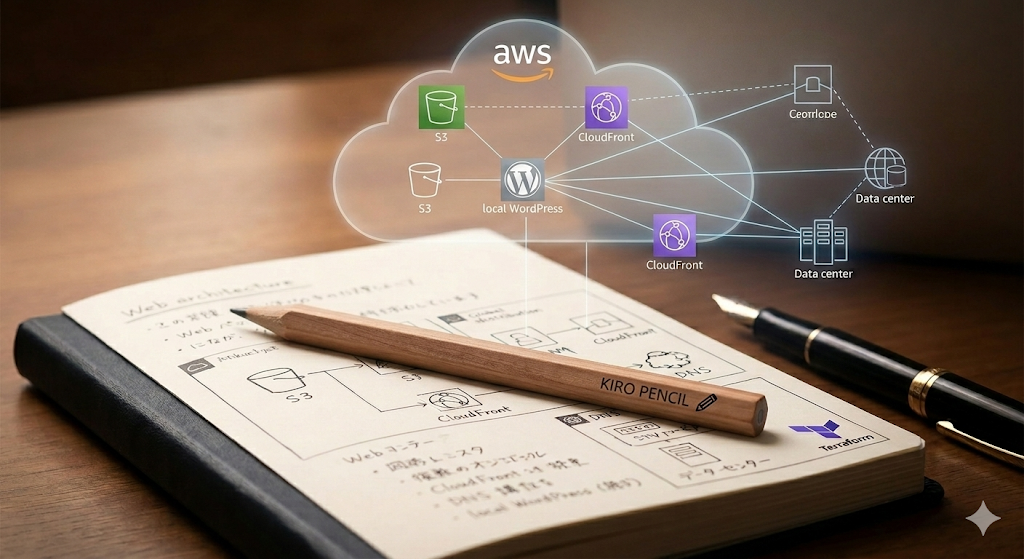
ローカルのDocker WordPressでコンテンツを管理し、Simply Staticで静的ファイルを生成、S3+CloudFrontでWeb公開する構成を構築した記録です。
AWS部分はAWS謹製Kiroに手伝ってもらって作成しました。
構成

ローカルWordPress(Docker)
↓ Simply Static で静的生成
S3バケット(静的コンテンツ格納)
↓ OAC経由
CloudFront(CDN + HTTPS)
↑ CNAME
www.example.com(既存DNSサーバー)
S3バケットの作成
パブリックアクセスを全遮断し、CloudFrontのOACからのみアクセスを許可する構成。
# s3.tf

resource "aws_s3_bucket" "static_site" {
  bucket = "<バケット名>"
}

resource "aws_s3_bucket_public_access_block" "static_site" {
  bucket                  = aws_s3_bucket.static_site.id
  block_public_acls       = true
  block_public_policy     = true
  ignore_public_acls      = true
  restrict_public_buckets = true
}

resource "aws_s3_bucket_policy" "static_site" {
  bucket = aws_s3_bucket.static_site.id
  policy = data.aws_iam_policy_document.static_site_bucket_policy.json
}

data "aws_iam_policy_document" "static_site_bucket_policy" {
  statement {
    principals {
      type        = "Service"
      identifiers = ["cloudfront.amazonaws.com"]
    }
    actions   = ["s3:GetObject"]
    resources = ["${aws_s3_bucket.static_site.arn}/*"]
    condition {
      test     = "StringEquals"
      variable = "AWS:SourceArn"
      values   = [aws_cloudfront_distribution.static_site.arn]
    }
  }
}

resource "aws_s3_bucket_versioning" "static_site" {
  bucket = aws_s3_bucket.static_site.id
  versioning_configuration {
    status = "Enabled"
  }
}

resource "aws_s3_bucket_lifecycle_configuration" "static_site" {
  bucket = aws_s3_bucket.static_site.id

  rule {
    id     = "delete-old-versions"
    status = "Enabled"

    filter {}

    noncurrent_version_expiration {
      noncurrent_days = 7
    }

    abort_incomplete_multipart_upload {
      days_after_initiation = 7
    }
  }
}
- ポイント:
- S3の静的ウェブサイトホスティング機能は使わない(パブリックアクセス不要)
- OACを使うことでCloudFrontからのアクセスのみに限定できる
- バージョニングを有効にしつつ、ライフサイクルで旧バージョンを7日後に削除してコスト抑制
CloudFront Functionの作成
S3はApacheの`DirectoryIndex`相当の機能がないため、`/path/`へのアクセスを`/path/index.html`に書き換えるFunctionを用意する。
// cf_function.js

function handler(event) {
  var request = event.request;
  var uri = request.uri;

  if (uri.endsWith('/')) {
    request.uri += 'index.html';
  } else if (!uri.includes('.')) {
    request.uri += '/index.html';
  }

  return request;
}
CloudFrontディストリビューションの作成
# cloudfront.tf

resource "aws_cloudfront_function" "index_rewrite" {
  name    = "index-rewrite"
  runtime = "cloudfront-js-2.0"
  publish = true
  code    = file("${path.module}/cf_function.js")
}

resource "aws_cloudfront_origin_access_control" "static_site" {
  name                              = "static-site-oac"
  origin_access_control_origin_type = "s3"
  signing_behavior                  = "always"
  signing_protocol                  = "sigv4"
}

resource "aws_cloudfront_distribution" "static_site" {
  enabled             = true
  default_root_object = "index.html"
  comment             = "Static site distribution"

  origin {
    domain_name              = aws_s3_bucket.static_site.bucket_regional_domain_name
    origin_id                = "s3-static-site"
    origin_access_control_id = aws_cloudfront_origin_access_control.static_site.id
  }

  default_cache_behavior {
    target_origin_id       = "s3-static-site"
    viewer_protocol_policy = "redirect-to-https"
    allowed_methods        = ["GET", "HEAD"]
    cached_methods         = ["GET", "HEAD"]

    forwarded_values {
      query_string = false
      cookies {
        forward = "none"
      }
    }

    function_association {
      event_type   = "viewer-request"
      function_arn = aws_cloudfront_function.index_rewrite.arn
    }
  }

  custom_error_response {
    error_code         = 403
    response_code      = 200
    response_page_path = "/index.html"
  }

  restrictions {
    geo_restriction {
      restriction_type = "none"
    }
  }

  viewer_certificate {
    acm_certificate_arn      = aws_acm_certificate.main.arn
    ssl_support_method       = "sni-only"
    minimum_protocol_version = "TLSv1.2_2021"
  }

  aliases = ["www.example.com"]
}

output "cloudfront_domain" {
  value = aws_cloudfront_distribution.static_site.domain_name
}
ACM証明書の発行
CloudFrontに使うSSL証明書は必ずus-east-1で発行する必要がある。
# provider.tf に追加

provider "aws" {
  alias   = "us_east_1"
  region  = "us-east-1"
  profile = "<プロファイル名>"
}
# acm.tf

resource "aws_acm_certificate" "main" {
  provider          = aws.us_east_1
  domain_name       = "www.example.com"
  validation_method = "DNS"

  lifecycle {
    create_before_destroy = true
  }
}

output "acm_validation_cname" {
  value       = aws_acm_certificate.main.domain_validation_options
  description = "DNSサーバーに追加するCNAMEレコード"
}
DNS設定(既存DNSサーバー側)
Route53に移行せず既存のDNSサーバーをそのまま使う場合、以下の2つのCNAMEを手動で追加する。
ACM検証用CNAME
`terraform output acm_validation_cname` で確認した値を登録。
タイプ:  CNAME
ホスト名:`_xxxxxxxx.www`
VALUE:  `_xxxxxxxx.acm-validations.aws`
www → CloudFront
タイプ:  CNAME
ホスト名:`www`
VALUE:  `xxxxxx.cloudfront.net`
注意: お名前.comなどレジストラによっては、DNS管理画面が複数あることがある。`dig @<実際のNSサーバー>`で登録先を確認すること。
# 実際のNSサーバーに直接問い合わせて確認
dig CNAME www.example.com @<NSサーバー>
WordPress側の設定
Simply Staticの「Destination URL」を`https://www.example.com`に設定して静的ファイルを再生成。
注意: WordPressのサイトURLをCloudFrontのURLに変更すると管理画面にアクセスできなくなる。`wp-config.php`に以下を追加してlocalhostに固定しておく。
define('WP_HOME', 'https://www.51weblab.jp');
define('WP_SITEURL', 'https://www.51weblab.jp');
この設定があるとDBの値より`define`が優先されるため、管理画面はlocalhostで動作しつつ、Simply StaticのDestination URLだけ本番ドメインに向けることができる。
S3へのアップロード
aws s3 sync ./static-out/ s3://<バケット名>/ --profile <プロファイル名> --delete
まとめ
<登場人物>
- コンテンツ管理 : ローカルDocker WordPress
- 静的生成      : Simply Static
- ホスティング   : S3(パブリックアクセス遮断)
- CDN/HTTPS    : CloudFront + ACM(無料・自動更新)
- DNS          : 既存DNSサーバーにCNAMEのみ追加

- ブログ原案     : Kiro
- ブログ清書     : 51WebLab.
- 構成図        : 51WebLab.
(本当は順番は逆ですが)Geminiに続いて、またしてもほとんどコードを書かずにこんな環境が構築出来てしまいました。AIに使われないように精進しなければ。
ではでは。